| Active with remarks |
|---|
| This application needs additional settings. Please follow the documentation below to create your own connectionUnique, active service acces point to a network. There are different types of connections (API key, Oauth…). More. |
The Sendy modulesThe module is an application or tool within the Boost.space system. The entire system is built on this concept of modularity. (module - Contacts) More allow you to create, get, add, delete, subscribe and/or unsubscribe usersCan use the system on a limited basis based on the rights assigned by the admin. More, and campaigns in your Sendy account.
Prerequisites
-
A Sendy account
In order to use Sendy with Boost.spaceCentralization and synchronization platform, where you can organize and manage your data. More IntegratorPart of the Boost.space system, where you can create your connections and automate your processes. More, it is necessary to have a Sendy account. If you do not have one, you can create a Sendy account at https://sendy.co/.
![[Note]](https://docs.boost.space/wp-content/themes/bsdocs/docs-parser/HTML/css/image/note.png) |
Note |
|---|---|
|
The moduleThe module is an application or tool within the Boost.space system. The entire system is built on this concept of modularity. (module - Contacts) More dialog fields that are displayed in bold (in the Boost.space Integrator scenarioA specific connection between applications in which data can be transferred. Two types of scenarios: active/inactive. More, not in this documentation article) are mandatory! |
To connect your Sendy account to Boost.space Integrator you need to obtain your Host URL and API Key.
-
Log into your Sendy account.
-
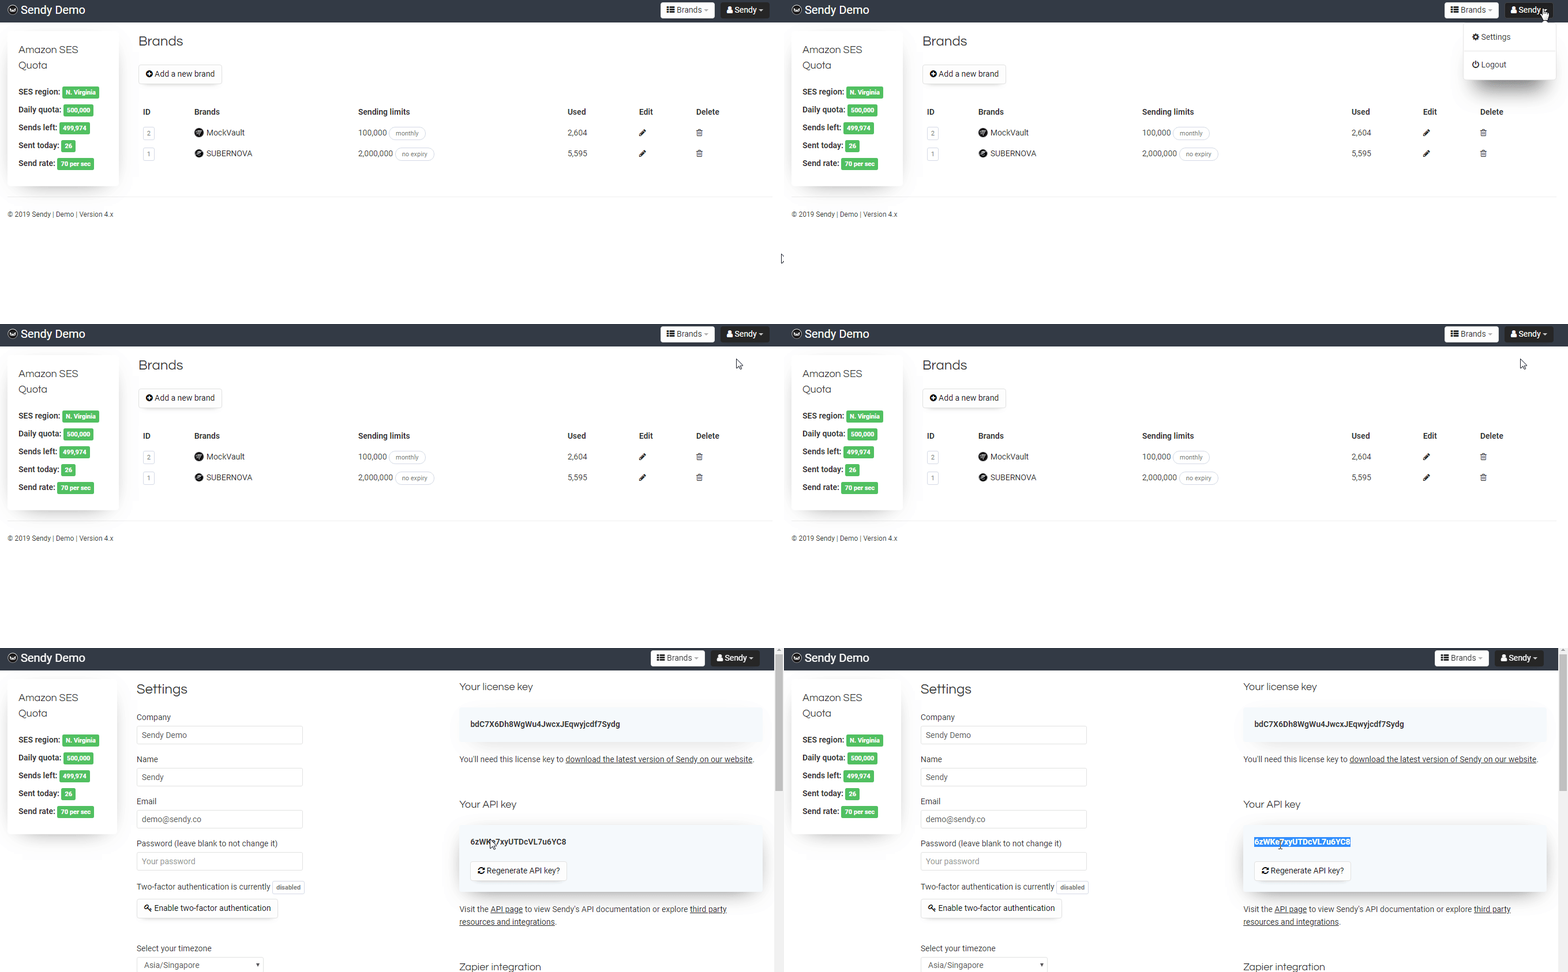
From the right top corner, click your account name and then click Settings.
-
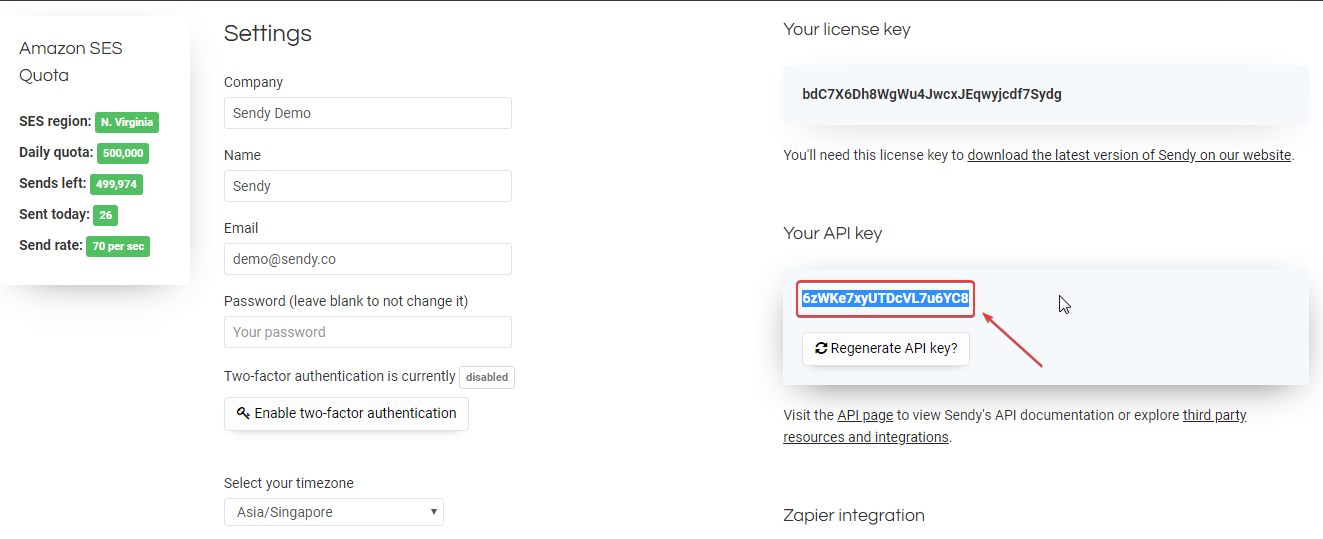
Copy the API Key available in the Your API Key.
-
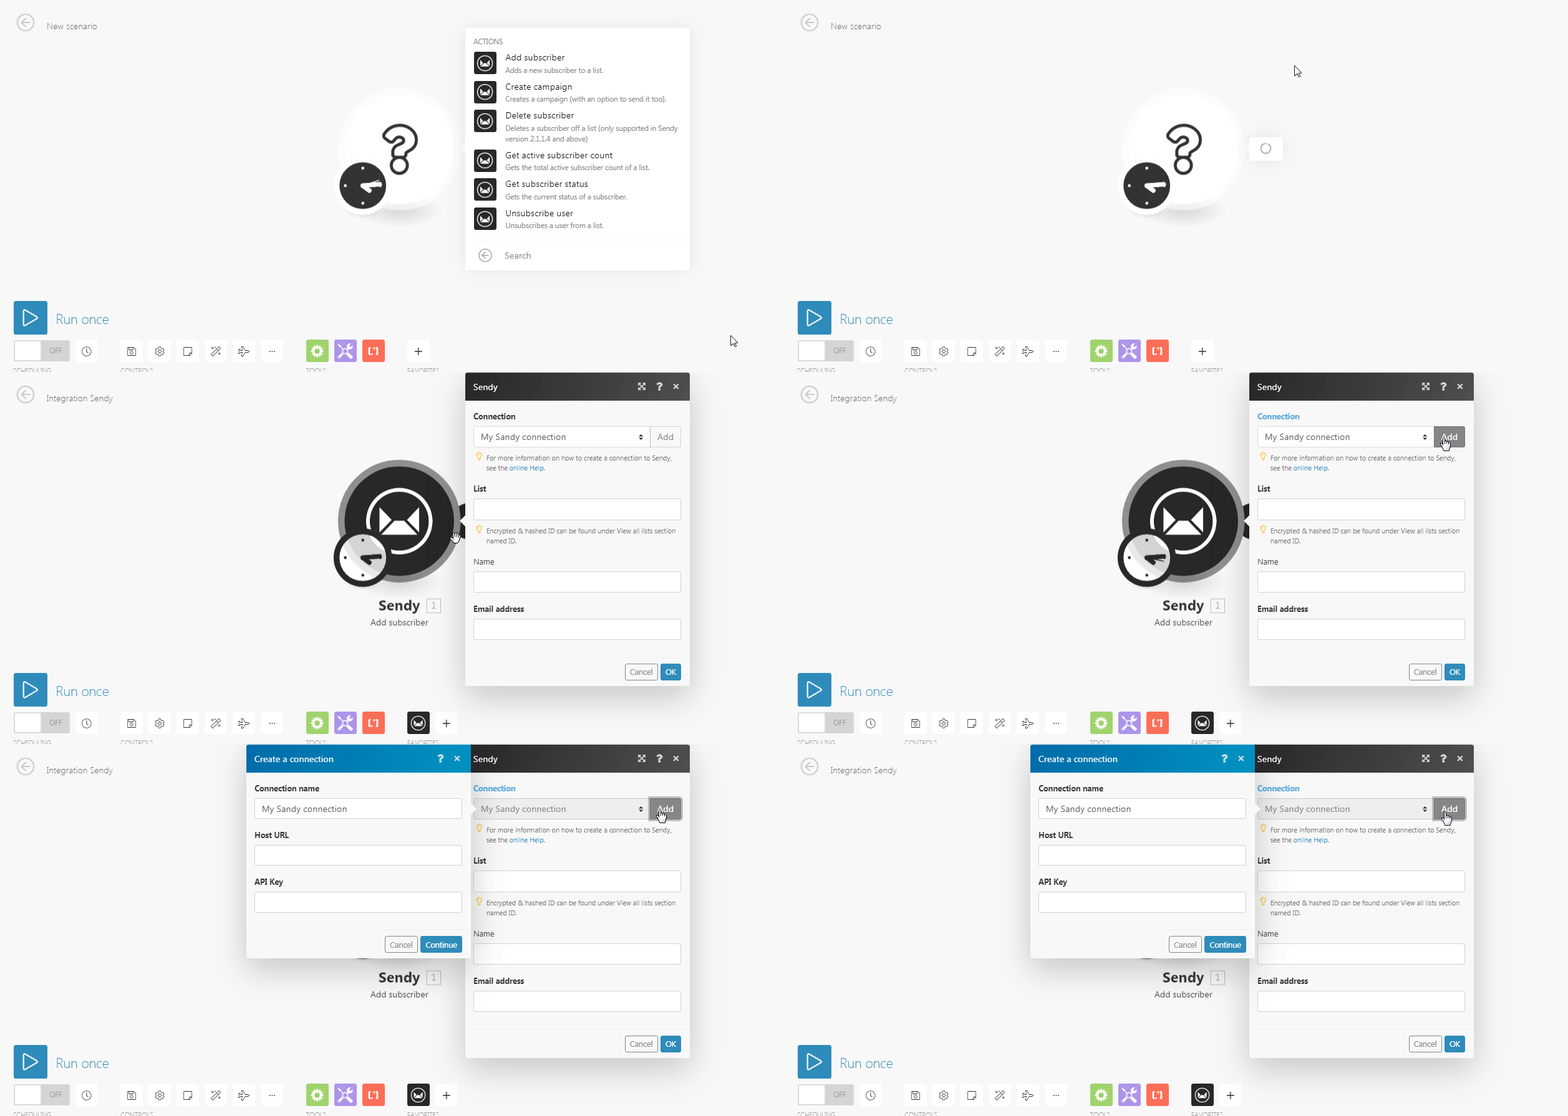
Go to Boost.space Integrator and open the Sendy module’s Create a connection dialog.
-
In the Connection name field, enter a name for your connection.
-
In the Host URL field, enter the website URL you use to access Sendy. For example, https://sendy.co/demo/.
-
In the API Key field, enter the API Key copied in Step 3 and click Continue.
The connection has been established.
Adds a new subscriber to a list.
|
Connection |
|
|
List |
Enter the List ID where you want to add the new subscriber. |
|
Name |
Enter the name of the subscriber. |
|
Email Address |
Enter the email address of the subscriber. |
Creates a campaign (with an option to send it too).
|
Connection |
|
|
From name |
Enter the name from whom you want to send the campaign. |
|
From email |
Enter the email address from which you want to send the campaign. |
|
Reply to |
|
|
Title |
Enter the name of the campaign. |
|
Subject |
Enter the details of the campaign. |
|
Plain text |
Enter the plain text version of the campaign. |
|
HTML text |
Enter the HTML version of the campaign. |
|
List IDs |
Enter the List IDs separated by commas of who you want to send the campaign. |
|
Brand ID |
Enter the Brand ID if you are creating a draft campaign. |
|
Query string |
Enter the request query string. |
|
Send campaign |
Select whether you want to send the campaign:
|
Deletes a subscriber off a list (only supported in Sendy version 2.1.1.4 and above).
|
Connection |
|
|
List |
Enter the List ID whose subscriber you want to delete. |
|
Email Address |
Enter the email address of the subscriber you want to delete. |
Gets the total active subscriber count of a list.
|
Connection |
|
|
List ID |
Enter the List ID whose active subscriber count you want to retrieve. |
Gets the current statusCreate statuses for each module separately to create an ideal environment for efficient and consistent work. More of a subscriber.
|
Connection |
|
|
List |
Enter the List ID whose subscriber status you want to retrieve. |
|
Email Address |
Enter the email address of the subscriber whose status you want to retrieve. |


