What is filtering and how does it work
Use the filter tool to automatically find only the data you want in Boost.spaceCentralization and synchronization platform, where you can organize and manage your data. More IntegratorPart of the Boost.space system, where you can create your connections and automate your processes. More. The filtering is done using the GET list functionFunctions you can use in Boost.space Integrator - create, update, delete, get, search..
PS: If you want to learn more about all the features go to this article.
There are some things that you need to know before you start filtering:
a) You cannot filter fields that are arrays and IDs
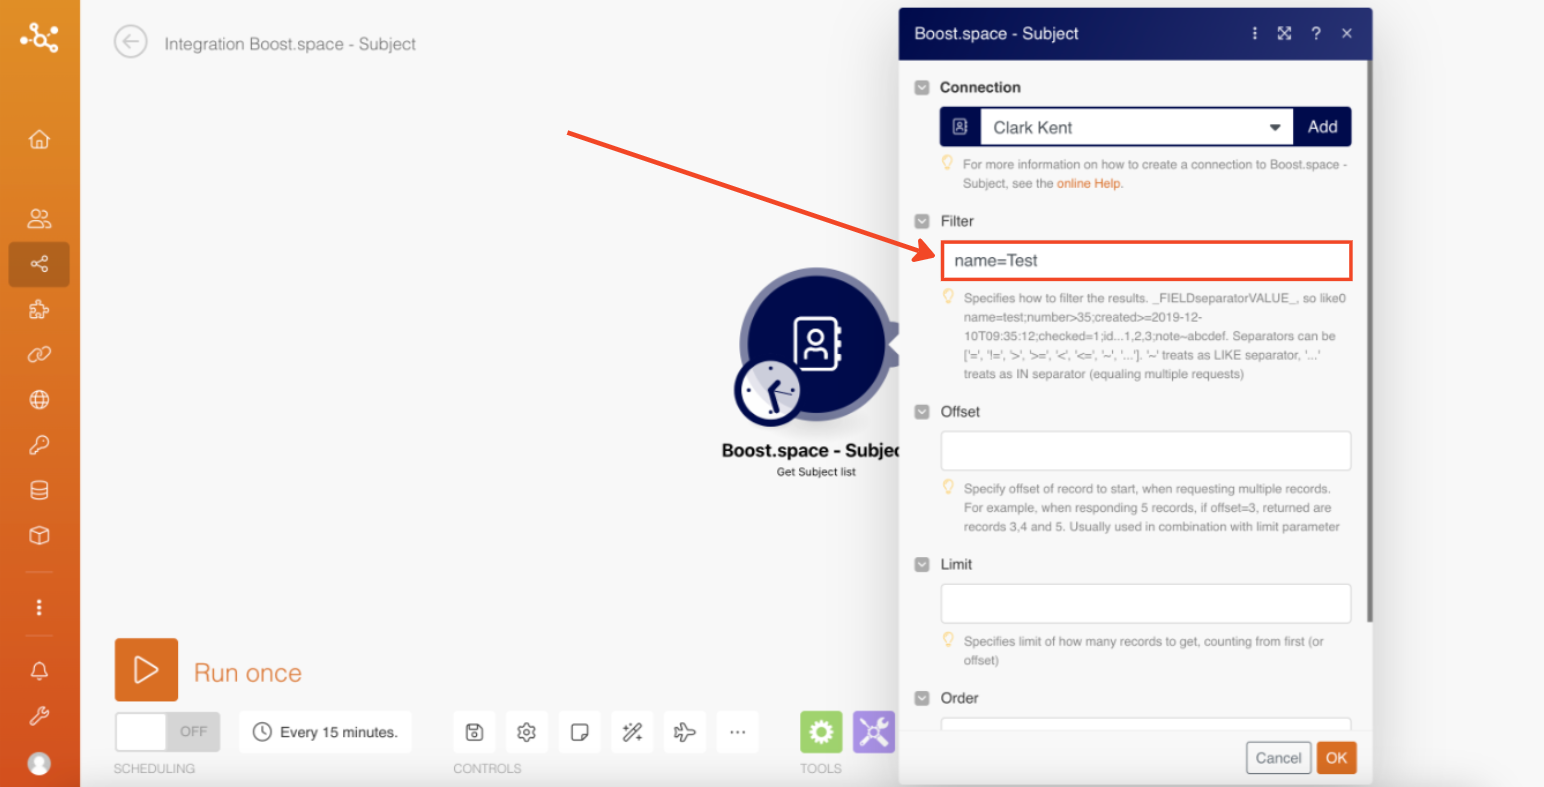
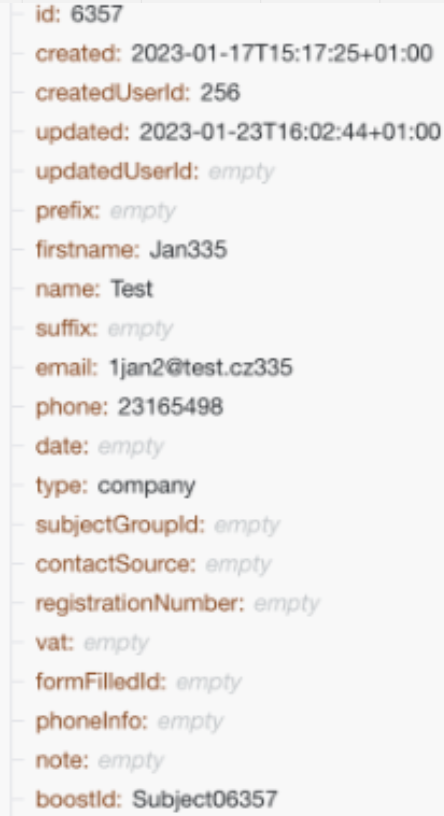
b) You can only filter by basic fields (as shown in the screenshot below)
c) You can enter a command to filter by a note that is directly below the filter field.
Step-by-step guide for filtering
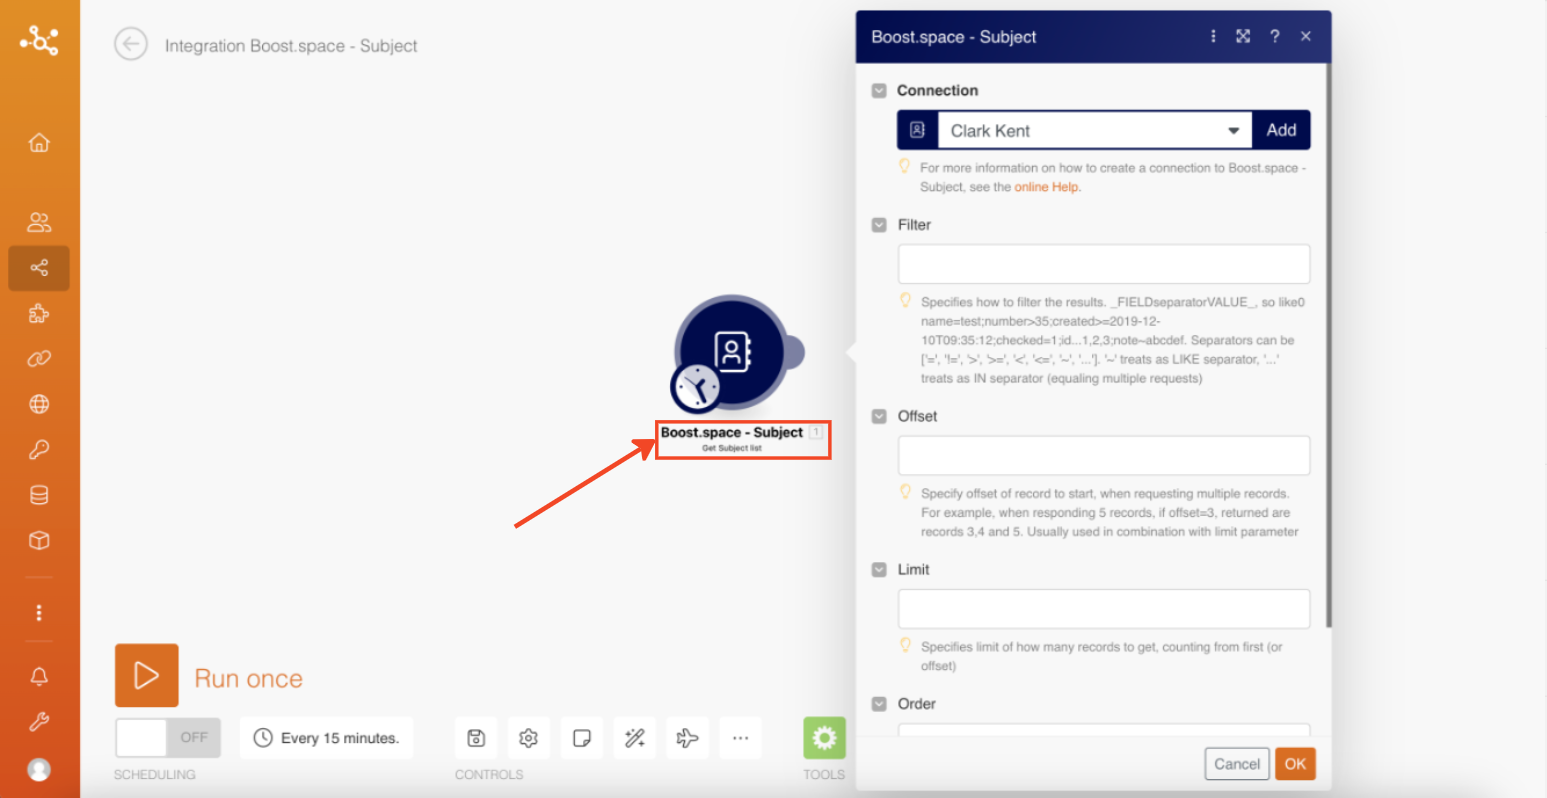
- Choose the moduleThe module is an application or tool within the Boost.space system. The entire system is built on this concept of modularity. (module - Contacts) More you want to filter in (we are using the Subject module in this case) and use the function “Get subject list“.

- Then choose a scenarioA specific connection between applications in which data can be transferred. Two types of scenarios: active/inactive. More and set what you want to filter your contacts by. In this case, we want to search for a contact by name. As you can see on the screen – you can filter by all the selected fields or add your custom fieldsA feature in Boost.space that allows you to define and manage data within each module according to your specific needs. More in the system. You can learn how to create a custom fieldA feature in Boost.space that allows you to define and manage data within each module according to your specific needs. More in this article.


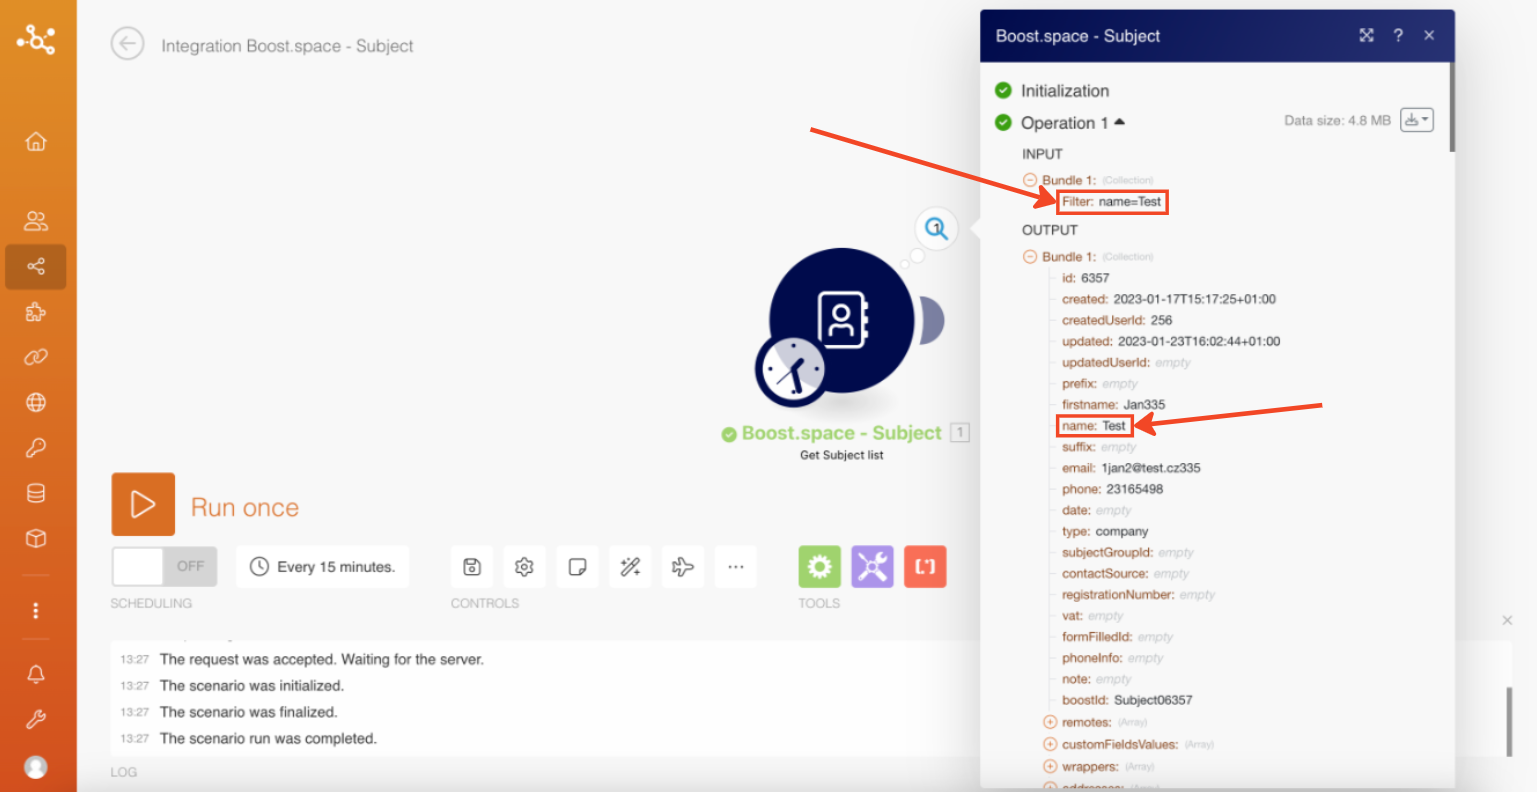
- Now you can just click on the run scenario and after clicking on the details you can see the filtered data.

Congratulations! Now you understand how to use the filtering feature in Boost.space Integrator. If you want to know more about the custom fields that you can assign, then continue to this article.
