The 1CRM modulesThe module is an application or tool within the Boost.space system. The entire system is built on this concept of modularity. (module - Contacts) More enable you to monitor, search, retrieve, create, update, or delete recordsOne row in the Boost.space database. These are individual rows under spaces in each module. For example single products, but not their variants. More in your 1CRM account.
Prerequisites
-
A 1CRM account
In order to use 1CRM with Boost.spaceCentralization and synchronization platform, where you can organize and manage your data. More IntegratorPart of the Boost.space system, where you can create your connections and automate your processes. More, it is necessary to have a 1CRM account. If you do not have one, you can create a 1CRM account at 1crm.com/free-trial.
![[Note]](https://bs-docs2.boost.space/wp-content/themes/bsdocs/docs-parser/HTML/css/image/note.png) |
Note |
|---|---|
|
The moduleThe module is an application or tool within the Boost.space system. The entire system is built on this concept of modularity. (module - Contacts) More dialog fields that are displayed in bold (in the Boost.space Integrator scenarioA specific connection between applications in which data can be transferred. Two types of scenarios: active/inactive. More, not in this documentation article) are mandatory! |
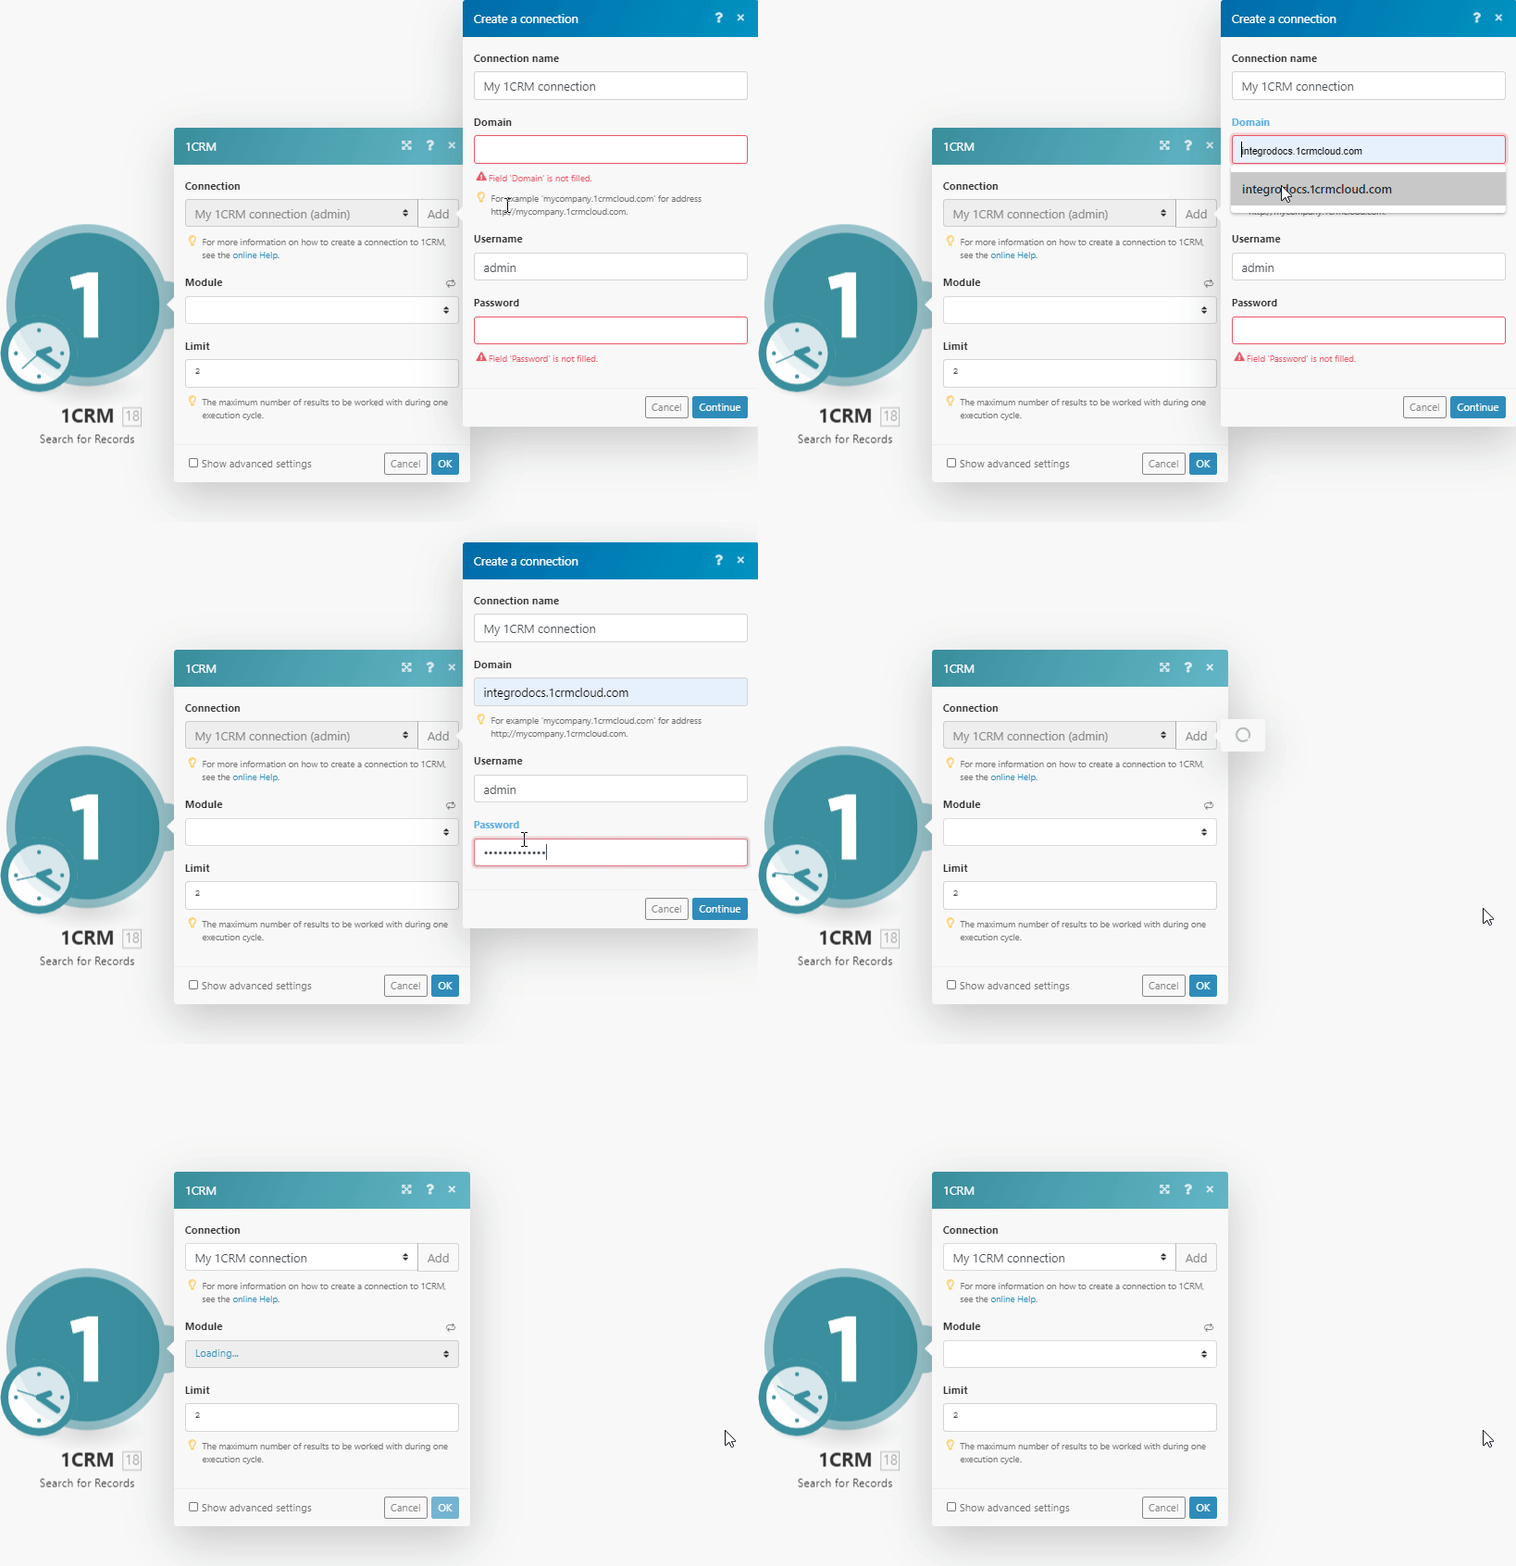
To connect your 1CRM account to Boost.space Integrator you need to enter your 1CRM domain and login credentials to the Create a connectionUnique, active service acces point to a network. There are different types of connections (API key, Oauth…). More dialog in Boost.space Integrator.
-
Open any 1CRM module in the Boost.space Integrator scenario.
-
Click the Add button next to the Connection field.
-
Fill the fields as follows:
Connection name
Enter the name for your 1CRM connection.
Domain
Enter the URL of your 1CRM account without the https prefix.
Username
Enter the userCan use the system on a limited basis based on the rights assigned by the admin. More name for your 1CRM account. E.g. AdminAdmins in Boost.space have exclusive access to system settings. They manage the overall system setup, including appearance, language, currency, user settings, and the availability of individual modules to users and teams. More.
Password
Enter the password to your 1CRM account.
-
Click the Continue button to establish the connection to your 1CRM account.
The connection has been established. You can proceed with setting up the module.
TriggersEvery scenario has a trigger, an event that starts your scenario. A scenario must have a trigger. There can only be one trigger for each scenario. When you create a new scenario, the first module you choose is your trigger for that scenario. Create a trigger by clicking on the empty module of a newly created scenario or moving the... when a recordOne row in the Boost.space database. These are individual rows under spaces in each module. For example single products, but not their variants. More is created or updated.
Click the Add button to create a new webhookA webhook is a way for an app to send real-time information to a specific URL in response to certain events or triggers. in your 1CRM account.
|
Webhook name |
Enter the name for the webhook. E.g. Account Created. |
|
Connection |
|
|
Type |
Select whether you want to monitor created, or updated records. |
|
Module |
Select the records you want to watch. |
Performs a search by defined filter settings.
|
Connection |
||||
|
Module |
Select the module where you want to search for records. |
|||
|
Fields |
Select fields you want to be retrieved by Boost.space Integrator. If left empty, a limited number of fields will be retrieved. |
|||
|
Filter text |
Enter the search term. Fields involved in search depend on model.
|
|||
|
Sort order |
Select a field representing the default sort order, overriding the default order. |
|||
|
Limit |
Set the maximum number of records Boost.space Integrator will return during one execution cycleA cycle is the operation and commit/rollback phases of scenario execution. A scenario may have one or more cycles (one is the default).. |
Retrieves data of the specified record.
|
Connection |
|
|
Module |
Select the module that contains the record you want to retrieve details about. |
|
Record ID |
Enter (map) the ID of the record you want to retrieve details about. |
Creates a new record.
|
Connection |
|
|
Module |
Select the module that you want to create a record for. |
![[Note]](https://bs-docs2.boost.space/wp-content/themes/bsdocs/docs-parser/HTML/css/image/note.png) |
Note |
|---|---|
|
The corresponding fields are loaded dynamically, depending on the selected module. |
Updates an existing record.
|
Connection |
|
|
Module |
Select the module that you want to create a record for. |
|
Record ID |
Enter (map) the ID of the record you want to update. |
Removes a Record
|
Connection |
|
|
Module |
Select the module you want to remove the record from. |
|
Record ID |
Enter (map) the ID of the record you want to delete. |
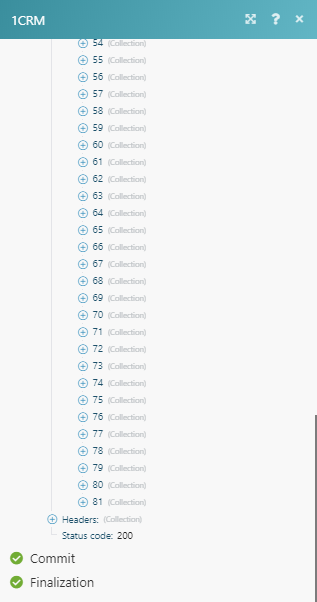
Returns all modules in your account.
|
Connection |
|
|
Limit |
Set the maximum number of modules Boost.space Integrator will return during one execution cycle. |
Returns all fields of the specified module.
|
Connection |
|
|
Module |
Select the module you want to retrieve fields for. |
|
Limit |
Set the maximum number of fields Boost.space Integrator will return during one execution cycle. |
Retrieves information about the authenticated user.
|
Connection |
Uploads a File.
|
Connection |
|
|
Source file |
Map the file you want to upload from the previous module (e.g. HTTP > Get a File or Google Drive > Download a File), or enter the file name and file data manually. |
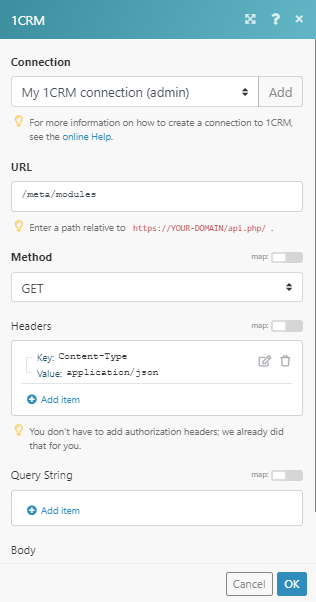
Allows you to perform a custom API call.
|
Connection |
||||
|
URL |
Enter a path relative to
|
|||
|
Method |
Select the HTTP method you want to use:
|
|||
|
Headers |
Enter the desired request headers. You don’t have to add authorization headers; we already did that for you. |
|||
|
Query string |
Enter the request query string. |
|||
|
Body |
Enter the body content for your API call. |

![[Important]](https://bs-docs2.boost.space/wp-content/themes/bsdocs/docs-parser/HTML/css/image/important.png)


